While everyone uses IG differently, I like to keep it pretty "snap shots of life" kind of a space, so I rarely post blog pictures, or super staged pictures. I do want it to look nice though, so a couple of editing tricks have made a huge difference in picture quality. Some of it I figured out myself, but I've learned little tips and tricks from Grace [her instagram here], Laura [instagram here], and my good friend Ben (who actually was just made an Instagram suggested user, so he definitely knows what he's doing!).
So besides the typical pieces of advice (take it in natural light, take several pictures so you have options, don't be super obnoxious when it comes to picture taking), here is how I approach instagram picture editing.
I have a ton of different photo editing apps on my phone, but my top ones are VSCOcam, Snapseed, and Retouch. I also use Diptic (for collage making), Over (puts words over your pictures), Afterlight (for sun flares), and Instasize (for making wider pictures into a square). Here's the general order of how I edit my pictures:
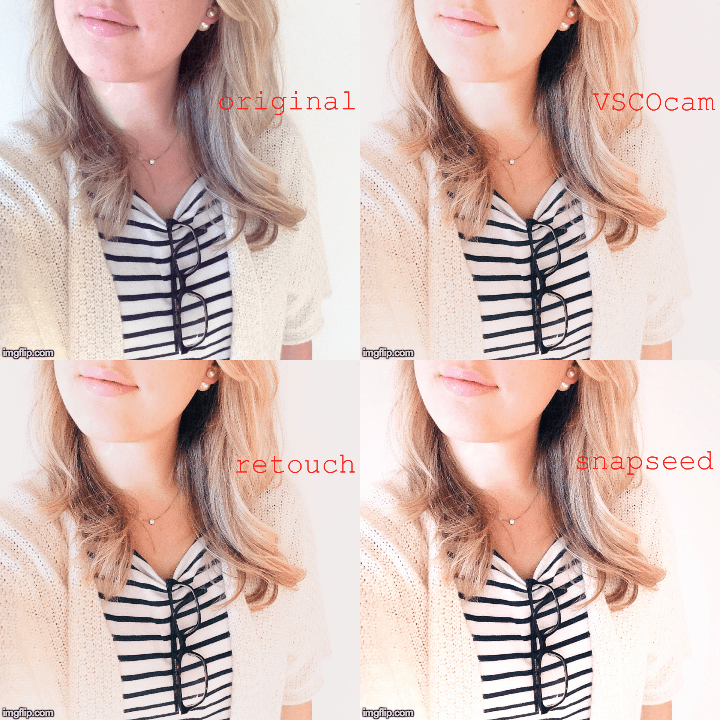
- This is the original untouched picture. I'm standing against my living room wall because it has the most natural sunlight without having any direct light on me. I took 5 pictures, and this is the one I felt the least dweeby in.
- I always use VSCOcam first. It comes with a good sampling of various filters, and over the last few months I've purchased a couple more. I generally try to keep my pictures softer and more mellow, but that's just the look I'm going for - there are so many different options! After choosing a filter, I usually add +1 to the exposure, contrast, and sharpness.
- touchRetouch is basically a mini photoshop for your phone. I don't know how to use photoshop in real life at all, but this makes fixing little things super easy. I used the brush here to cover up a blemish that concealer just won't cover up in real life. I don't like when people make their pictures look completely unnatural, but I also don't want to give you a close up of a zit. It also has a stamp tool that I am still slowly figuring out how to use.
- Snapseed is an app I use to brighten certain parts of the picture. You can choose any color in the picture, then have it it change all the parts of the picture that are that color. Here I just chose to make the white a little brighter, and the stripes a little darker. It almost looks a little blown out on a big computer screen, but I think it helps a lot with tiny iPhone screens.
All of that takes me maybe 3-4 minutes, but I think it makes the picture that much better. Plus it's fun! Here's the whole process in GIF form:
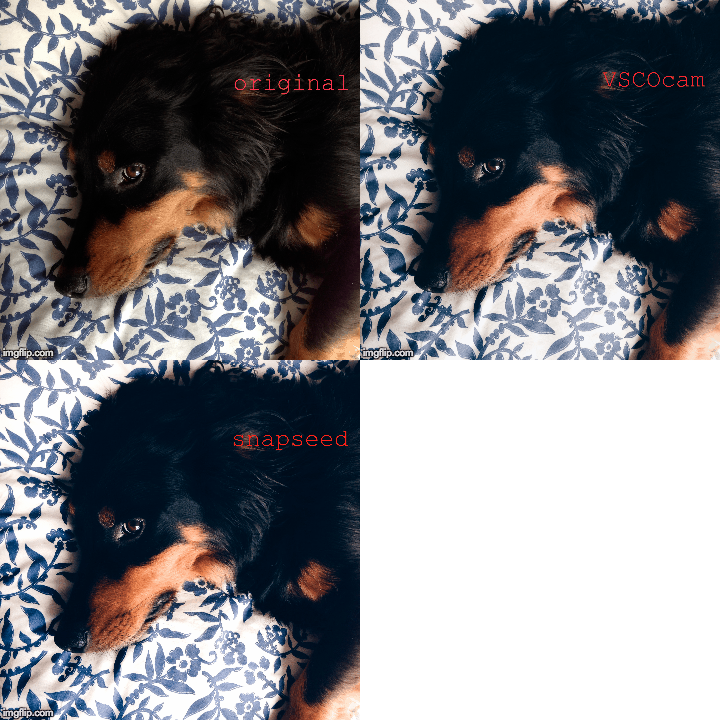
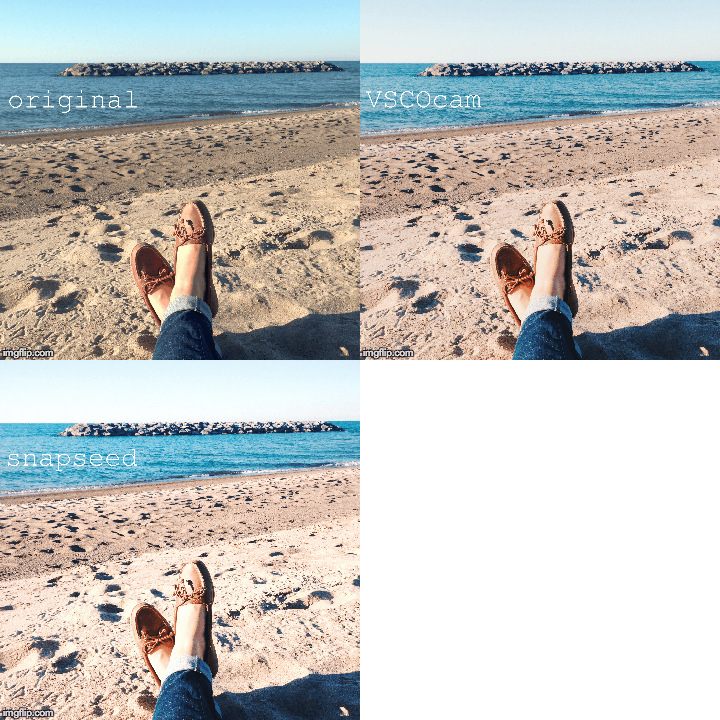
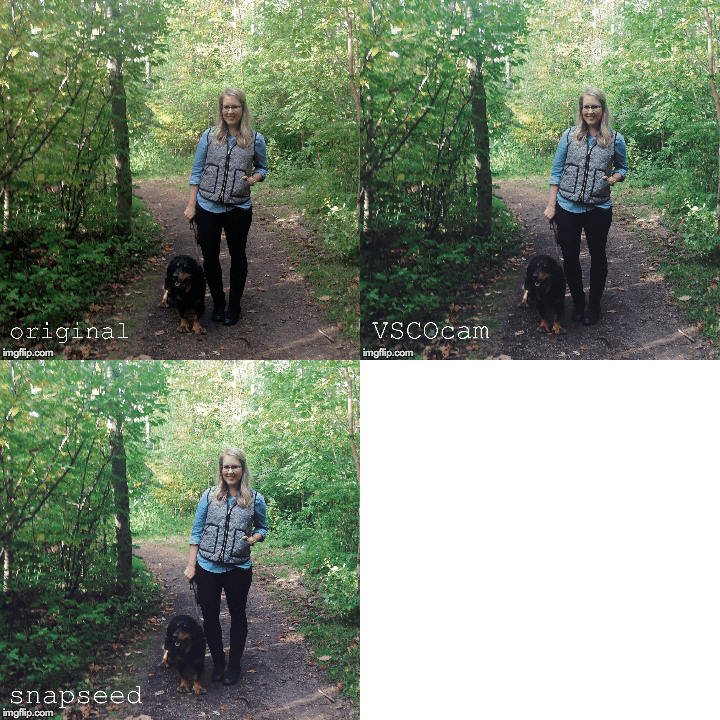
Here are a couple more examples of edited pictures:
I'd love to hear how you edit your pictures, or what tips and tricks you've learned along the way!
P.S. In the first picture I'm wearing my favorite striped tee + newest eBay purchase


