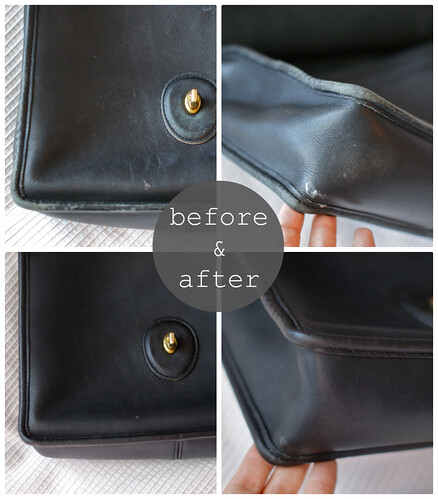
As I mentioned Monday, I purchased a Coach Willis purse off of Etsy after being inspired by Extra Petite's post on purchasing current Legacy collection styles as the originals off of the used purse market. Buying a used purse comes with the expectation that it is going to have a bit of wear to it, and this purse was no exception. I did a bit of leather restoring research before purchasing it to see how easy it would be to touch up the worn parts. From what I read, all you have to do is use a leather pen and easy peasy, new purse!


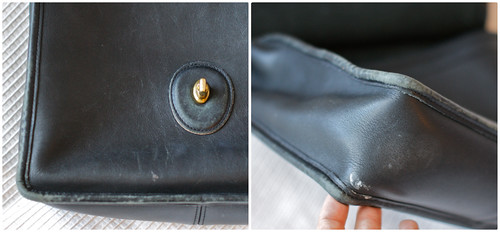
After I made the purse purchase, I went to three local crafting stores in hopes of finding these leather restoring pens but apparently they don't sell those in stores, or online any where as I had no luck finding them. I ended up purchasing this leather touch-up recolor kit. As a disclaimer, I am a complete leather working novice so these are just my experiences with this process. Here are the close-ups of the bag before, and then what I did to fix them:
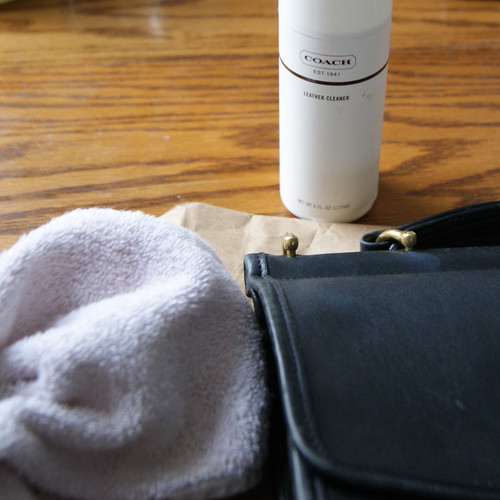
step 1: clean the purse
step 2: apply the color
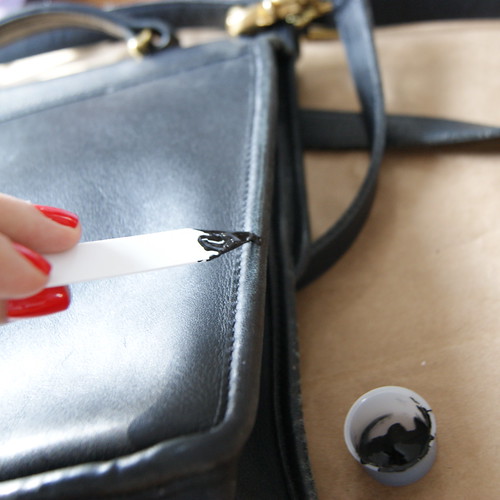
The kit comes with 7 paint pots so that you can mix the colors so it will match the color of your leather. Since my purse is black, I didn't have to mix any colors together. I put a scoop of the paint into the mixing pot, added a few drops of water as directed, and brushed the paint onto the leather.
step 3: distribute the color
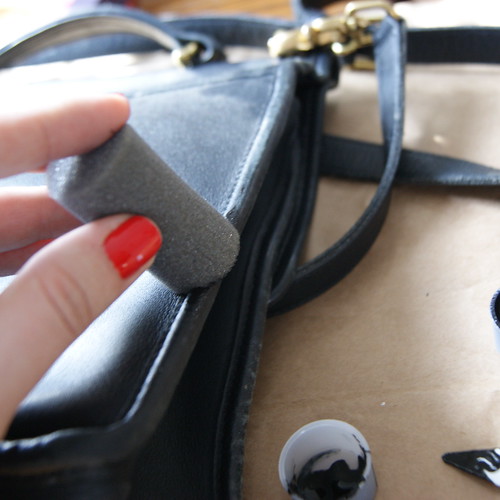
Next I used the sponge supplied to distribute the color all of the areas that needed it. If I had one piece of advice here it would be to wear gloves which I don't have at home, so I ended up getting some of the color on my fingers. It came off fairly easily but gloves would have been preferred. I then let the bag sit for 24 hours. The directions say that you can do several coats of color, but I decided to only use one coat as the worn areas were pretty well covered.
step 4: apply the clear finish
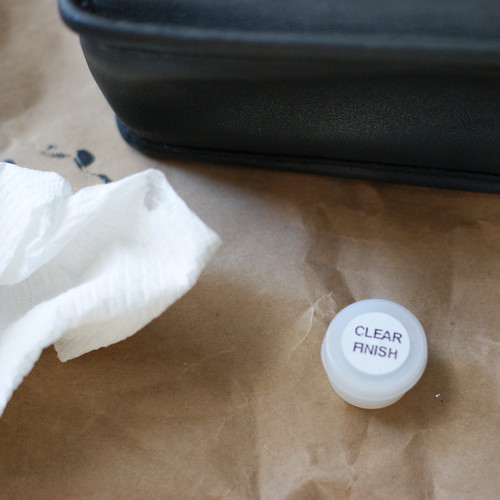
After 24 hours, I applied the clear finish with a paper towel. Some of the color does transfer onto the paper towel, but I didn't see that any of the worn areas were any less colored, so it must just be the residue paint. I then let it sit for another 24 hours.
step 5: moisturize
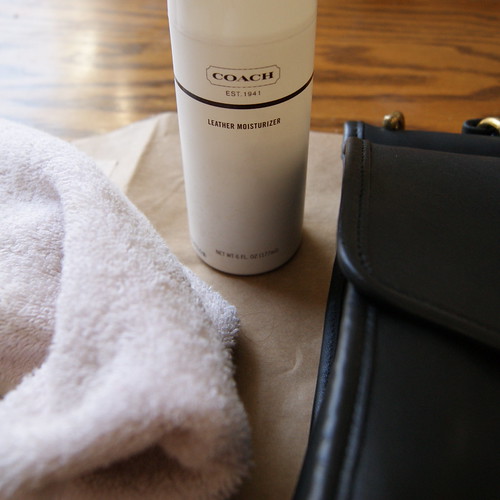
I also have the Coach moisturizer, so I used that to moisturize the entire purse with a clean cloth. I noticed hardly any color transfer during this step so the clear finish seems to really work in locking in the color.
step 6: polish the hardware
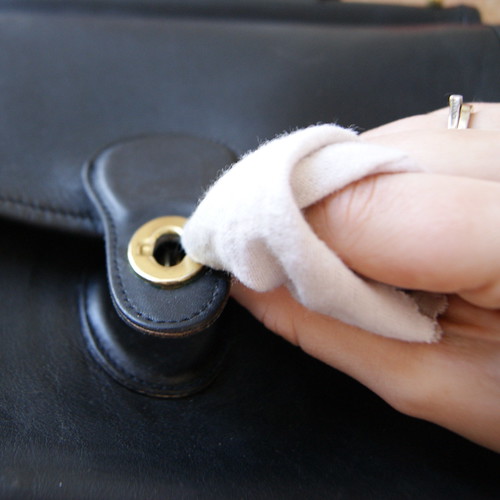
I used a dual sided jewelry cloth that I've had for about 10 years now. The cleaning side was used to remove any of the paint that accidentally got on the metal, and then the polishing side was used for polishing. The hardware on my purse also had a bit of wear on it so you can't really polish that off, but that is to be expected.
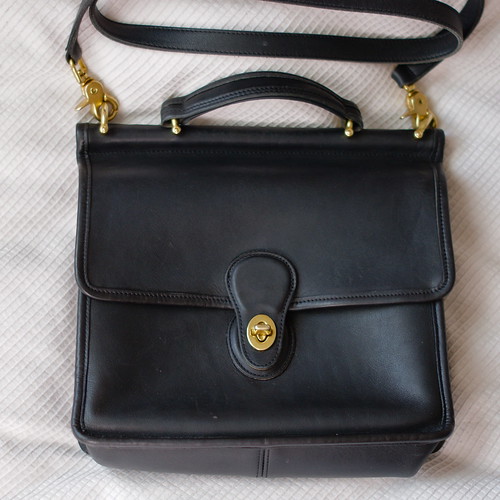
step 7: admire your work
Do you have any experience in restoring leather goods? I'd love to hear about it!