


Here's what we're starting with. I think this is about 2.5 weeks old. If it wasn't for the fact that I was doing a lot of work around the house, I think the nail polish would have held up even longer.
STEP 1: remove old polish
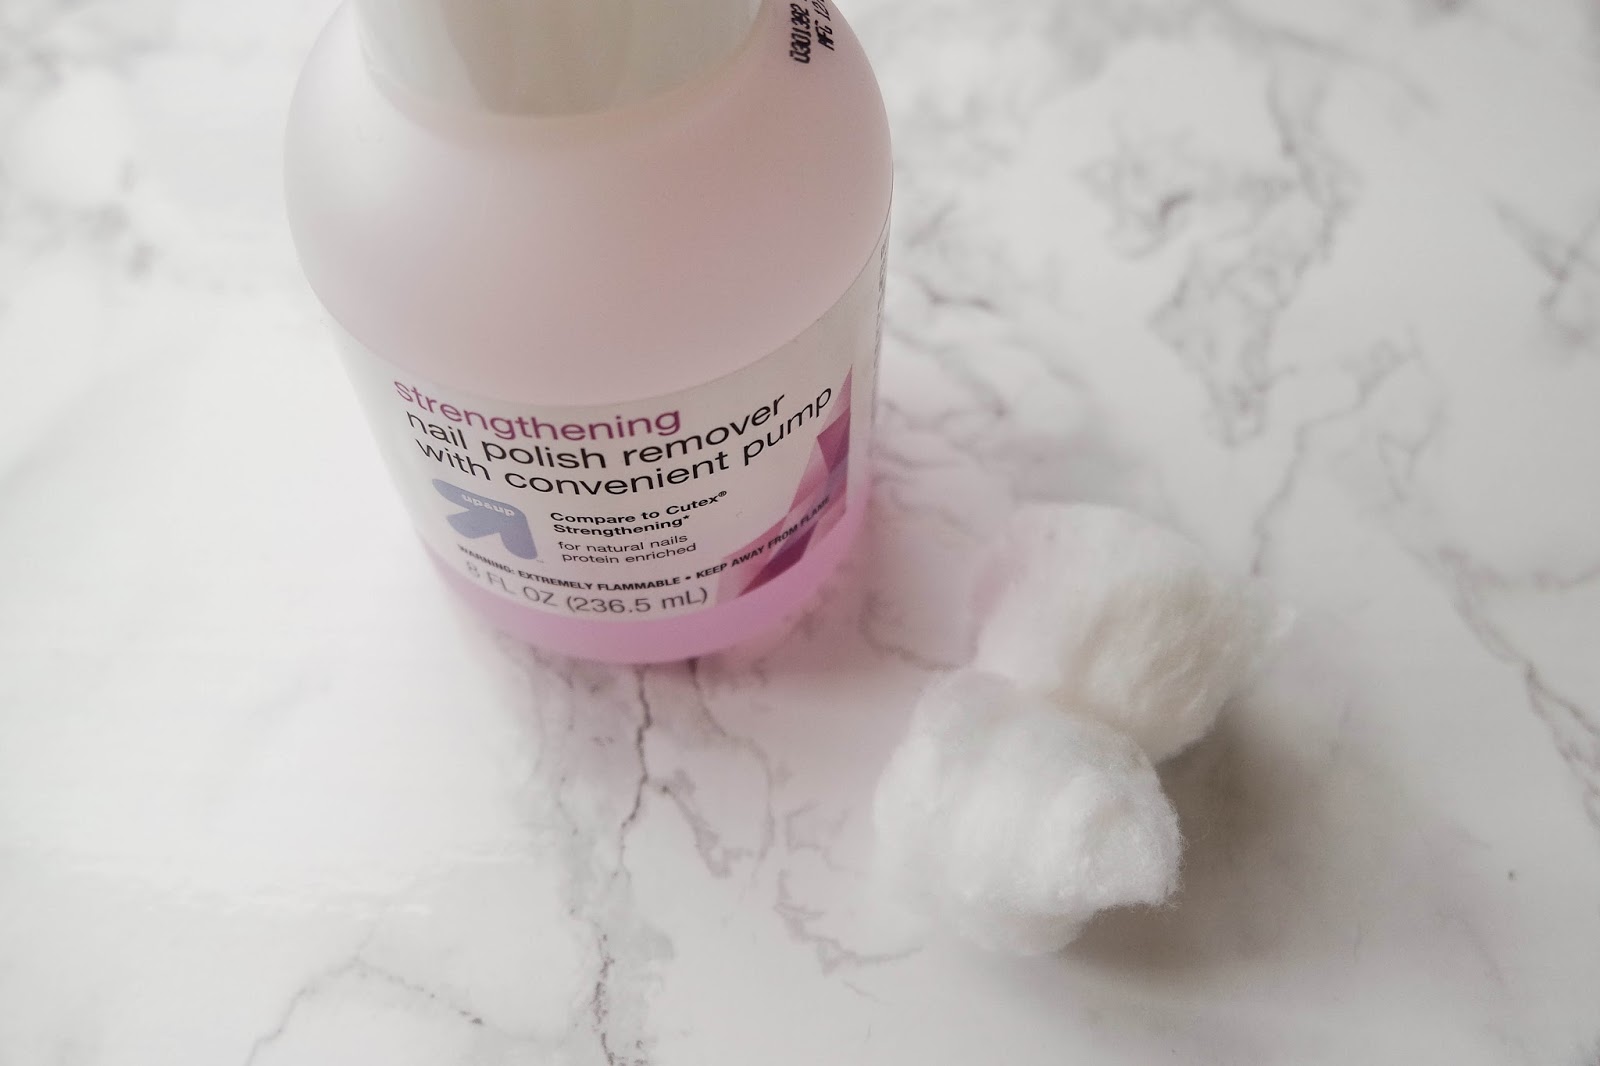
My preferred way of removing nail polish is using this pump bottle of nail polish remover with cotton balls. If I'm wearing a paler nail polish, I can get away with using only one cotton ball too!
STEP 2: trim the nails

This may be a bit controversial, but I really prefer using scissors versus nail clippers to trim my nails. I don't know if this is a German thing, but we didn't even have nail clippers in my house growing up! I like the scissors because it gives you an even trim - with clippers you get little jagged edges that always take more time to smooth out.
STEP 3: get rid of the cuticles

This may be another controversial statement, but I absolutely hate my cuticles and always get rid of them. I hate when they start tearing and then bleed and...it's just easier to get rid of them. This is what I've found works the best:

Use Sally Hanson's cuticle remover to loosen up the dead cuticle. I've tried the creams and waxes and pastes, and this is my favorite method because it really loosens up the cuticle and makes them so easy to remove! I put this on the cuticle, and wait a minute or so.

Then I use a cuticle pusher to push back the cuticles, just far enough to wear they grow naturally. This isn't supposed to hurt as you are only pushing that dead skin back, so make sure you don't go too far.

Then I use cuticle clippers to clip off that dead skin. Again, because you are only getting rid of the dead parts, none of this is supposed to hurt or bleed. This is the step I really prefer doing myself as compared to a nail salon because I feel at a salon, it always hurts and bleeds when others do it, but when I do it myself, I can tell how far to go.

So this is what we're left with after removing the nail polish, trimming the nails, and removing the cuticles.
STEP 4: smooth the nails

Because I use nail scissors instead of clippers, I don't have a lot I need to file.

I like to smooth out the ends of the nails, and give each nail just one quick swipe across the ends. I've always heard that doing the back and forth motion is what weakens nails, so only go in one direction.

Then I use one of these multi-sided files to file the top of my nails. I always have a bit of flaking on the top, so I just give it a quick swipe across to remove those.

And this is what we're left with now! A fresh canvas for painting.
STEP 5: paint!

I reviewed Essie's Gel Couture line a few months ago, and they continue to be my favorite line of nail polishes! They really do last a good two weeks without chipping, which is amazing when you're somewhat lazy.

I have used a ton of different bases, but keep coming back to Orly's bonder. It dries quickly, isn't super expensive, and works well. Highly recommend it if you are looking for a new base coat to try out!

Next is the actual painting of the nail. I made the GIF above so you can see how I do it. I wipe the brush off one on side, then put the side with the paint on it down in the middle of the nail. Then I push the brush down towards my cuticles, and brush up towards the tip. This ensures you that you get a smooth line at the bottom of the nail and don't paint over your skin. It works every time! This also makes it easier when you are painting with your non-dominant hand as you're less likely to get nail polish everywhere.
For paler colors, like the one above, I typically do three layers of color to get rid of all the streakiness that comes with lighter colors. Once dry, I put on 1-2 coats of the gel top coat.
And that's it! Using the Essie gel line, I do my nails at most every 2 weeks because it really does last a pretty long time (which is great, because as much as I like the end result, I'm lazy no matter what when it comes to my nails, so the less work, the better!).